Abstract
This article attempts to focus on the problems that arise when performing a weld inspection using DE / DT / DI OR NDE / NDT / NDI occur depending on the case. Inspection is a very serious matter in the engineering profession, and it involves all facets of the production stages.
The main objective of the inspection is the need for quality, both material and weld quality, as an important part of the overall quality effort.
There are several factors you should consider when product quality is a concern, such as economics, safety, government regulations and global competition, the use of less constructive designs, and more.
This article has compared both methods and makes them available to you without obligation and competition.
1. Introduction
The main objective of the inspection is quality, and weld quality is one of the most important parts of the overall quality effort. Several factors play a role such as global competition, the use of less constructive designs, etc.
The welding inspector is one of the front-line persons who must check to see if all of the required manufacturing steps have been completed perfectly.
2. Who is a Welding Inspector?
A welding inspector is a person in charge who is present when determining the weld seam quality according to applicable codes and/or specifications. He must have the so-called KASH. KASH stands for knowledge, attitude, skills, and habit. The qualified welding inspector is the communicator of all parties and mediator of all information.
3. Welding Methods
Numerous welding processes are in use in industry today and some experts are constantly developing them.
This further development is essentially dependent on the rapid development in materials science, as well as on the development of Environmental conditions such as underwater and deep-sea locations.
4. Inspection and Testing of Welds
The inspection and testing of weld seams is a very important facet of welding technology. It is an important contribution to the industrial productivity of the branch. Many countries go to great lengths to ensure that the quality and reliability of welding processes are of the highest standard to ensure industrial productivity and safety.
During the process of welding, faults of various types may creep in. These must be eliminated or detected before the welded item is passed for use. Available methods of testing welds can be classified into two major methods:
• Non-destructive testing
• Destructive Testing
4.1 Non-Destructive Testing (NDT)
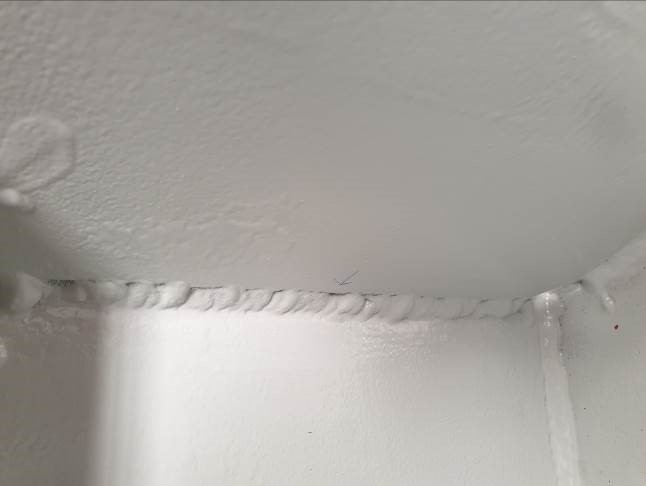
Non-destructive testing (NDT) is the process of inspecting, testing, or evaluating the materials, components, or assemblies for discontinuities, deviations, or differences in properties without destroying the serviceability of the part or system. In other words, when the inspection or test is completed, the parts are still usable.
Frequently used are:
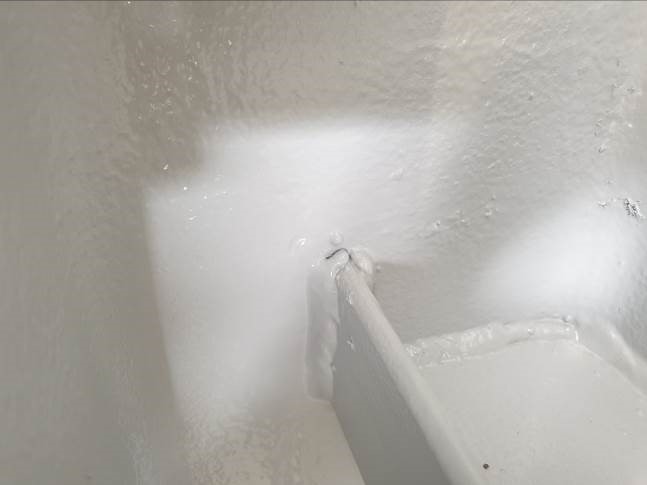
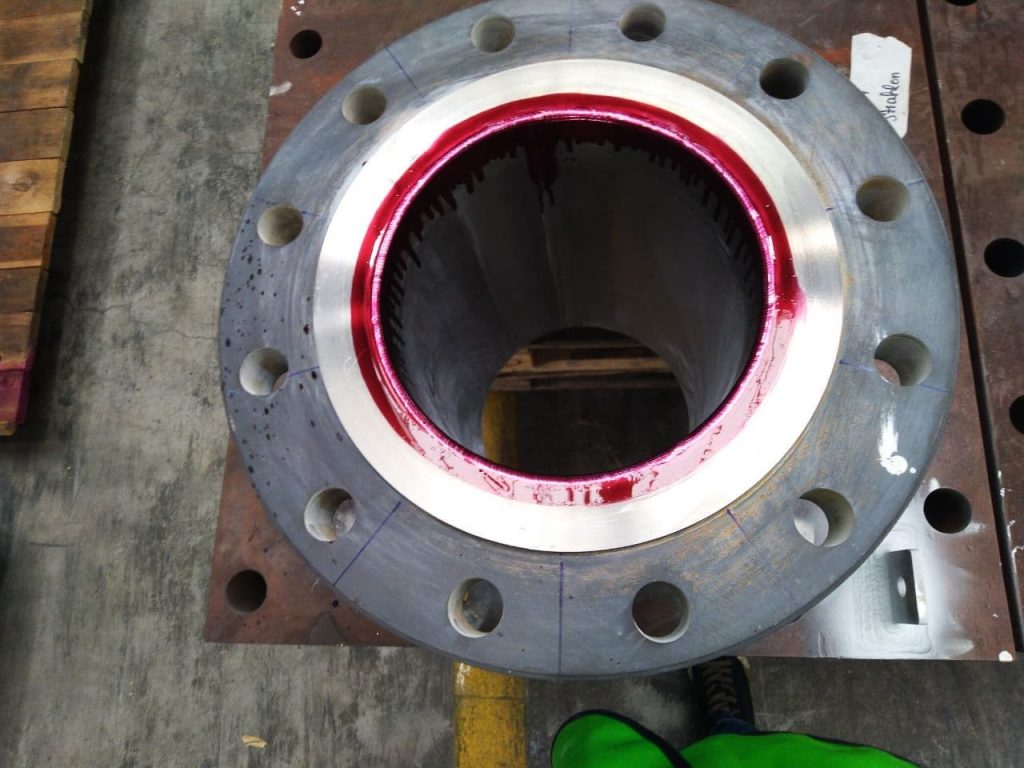
- Visual Inspection, dye penetrant fluid
- Radiography: X-ray and Gamma-ray
- Ultrasonics
- Application & load
- Each of these tests are subject to standard methods of approach which you must adhered to.
4.2 Destructive Testing (DT)
tests are usually carried out either on test specimens manufactured for this purpose or on a test specimen that is representative of several similar objects. They can be done in laboratories, workshops, or training centers and can be more chemical or be mechanical.
5. Conclusion
The use of DT or NDT has become established over the years. It should be the privilege of the welding inspector to use the visual inspection (VI) and, if necessary, to request an NDI technique to supplement this if there is a legitimate reason.

