This article describes the common activities, which are requested to perform the “Heat exchanger inspection” by third-party inspection company.
In the previous article “Heat exchanger- During product inspection” you can find some initial common activities on the production process and quality control services, provides by a third-party inspection company considering the specified intervention on the related inspection and test plan “ITP”.
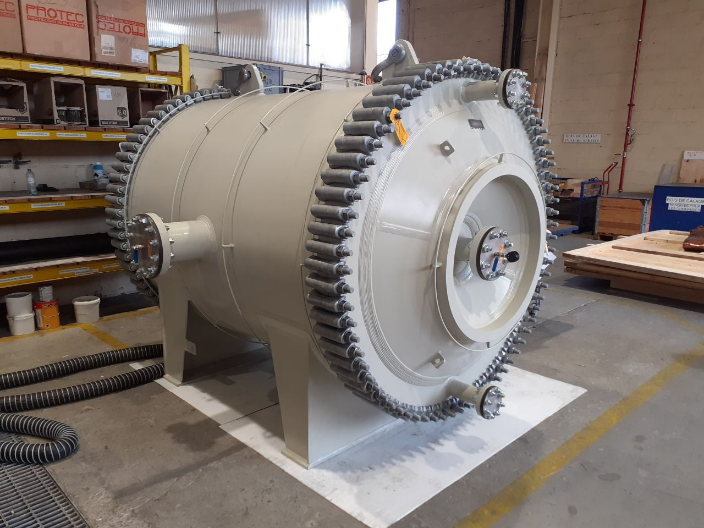
1- Pneumatic pressure test
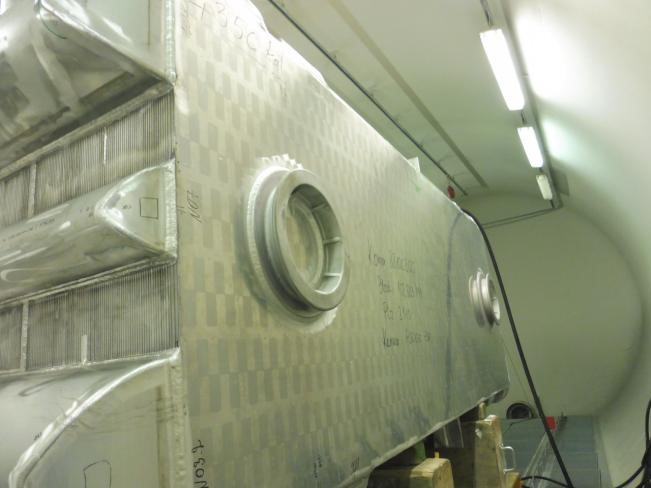
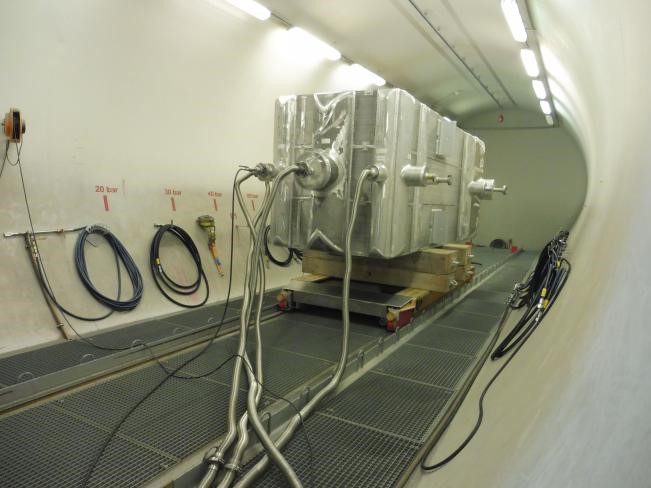
Pneumatic strength and tightness test on exchanger with piping should be performed based on the specified conditions on the test procedure and related reference standard.
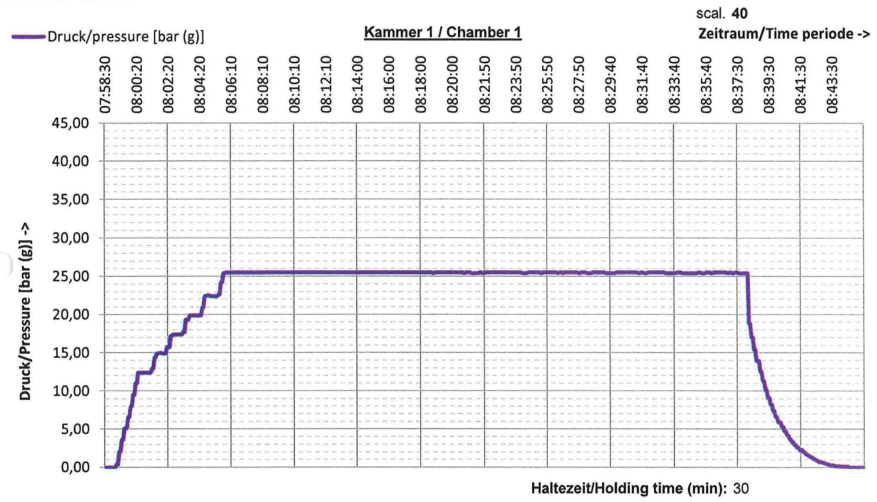
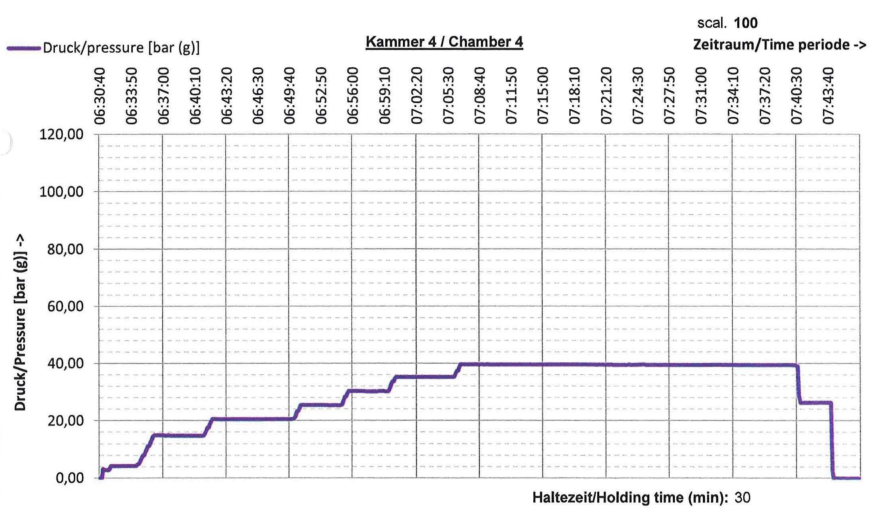
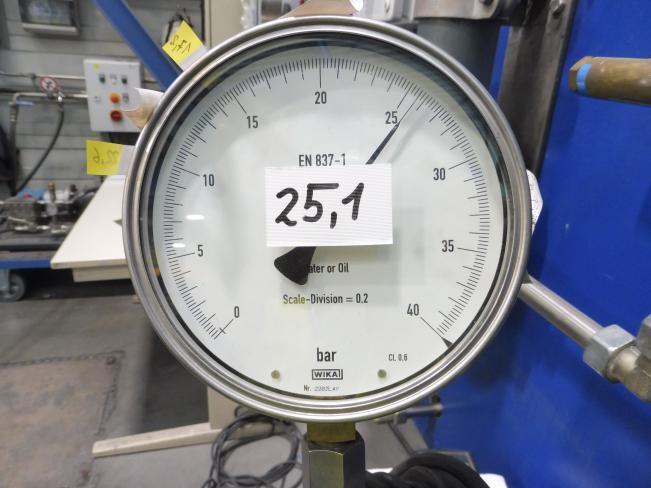
In the test procedure, it is described how the pressure should be increased to reach the final pressure test. The diagram including the pressure test and test duration is provided based on the test results.
After the test, a visual inspection is carried out on the heat exchanger to detect the unacceptable deviations.
In case of any unacceptable deviation, such as permanent deformation, leakage, or pressure drop, the test will be rejected and it should be done again after needful corrective action by the vendor.
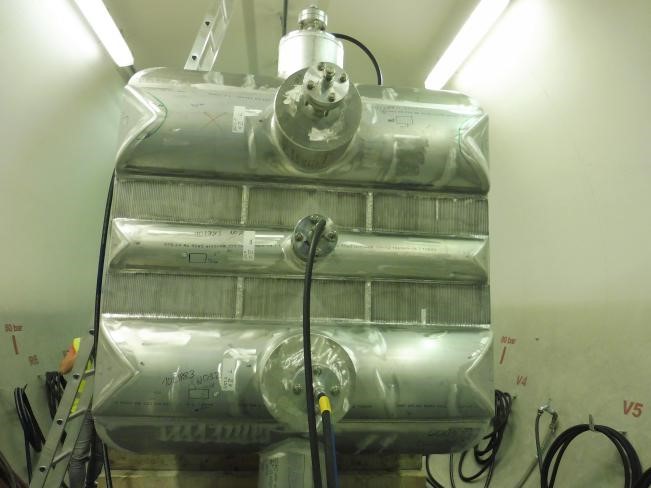
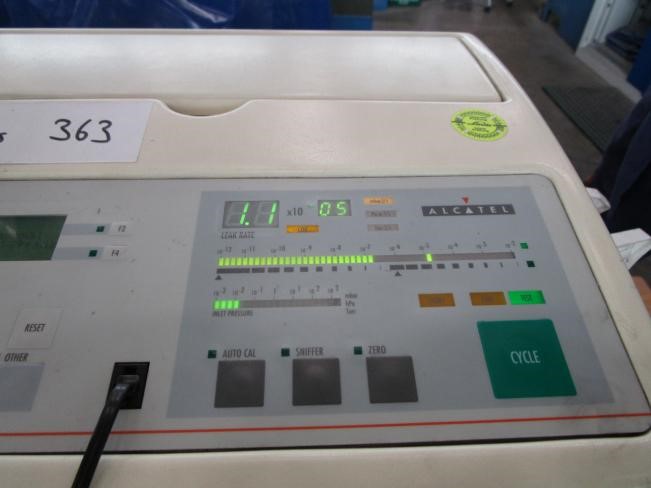
2- What’s the purpose of the leak test?
One of the critical steps of “Heat exchanger inspection” which is applied on the various types of heat exchangers is the leakage test. In the leak test, a test gas such as helium or hydrogen/nitrogen mixture is filled in on the primary side of the medium and the concentration is measured on the secondary side.
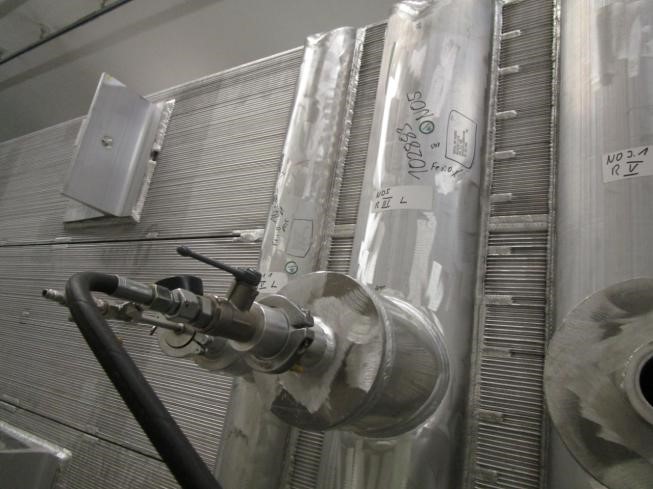
The gas mixture passes through even the smallest leaks and the concentration can easily be measured. This test is applied to the various heat exchangers to determine whether the manufactured item leakage is within the specified leak limit or not.
Leakage could occur through a defect e.g., crack or hole and due to the defect size, the leakage will be increased. The measured leakage is compared with the acceptance limit.
An advantage of this method is that the leakage test is non-destructive and detects the area of the leakage with a cheap and simple test.
Used gas during the leakage test is specified in the test procedure and it can be air, helium, or a mixture of specified gases such as hydrogen/nitrogen.
In the case of using helium gas, a helium gas detector is applied to measure the amount of leakage. A probe is sniffing on the outer surface, which the helium is pressurized in it, and detect any leakage from the surface or welding imperfections and defect. Measured leakage should be in the specified and allowed range in the related standard or procedure. Any unacceptable value due to the defects should be considered and the defects should be repaired and retested to achieve a satisfactory result.
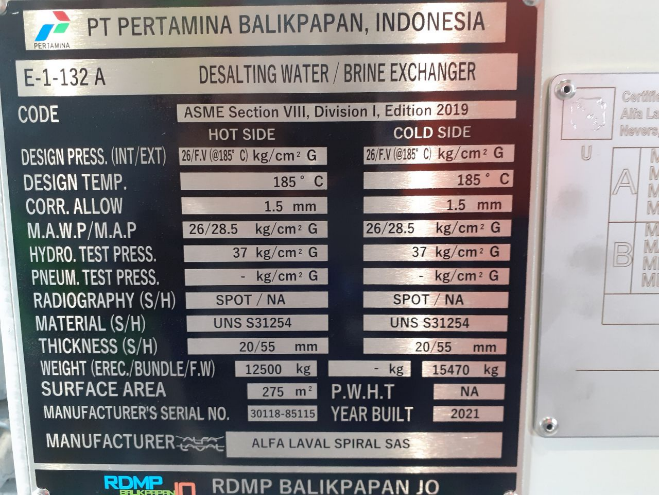
3- Don’t forget to check nameplate during heat exchanger inspection
The third-party inspector checks the nameplate according to the related drawing. The size of the nameplate and contents shall be checked based on the needful information specified on the spec/data sheet and nameplate drawing.
4- Check of cleanliness
A technical inspector checks the cleanliness, dryness, and rust prevention before painting. Any dirt, dust, rust, or surface defection shall be removed and the surface should be prepared for painting. Different methods may be applied for surface preparation before painting like a shot blast, sandblast, or acid cleaning.
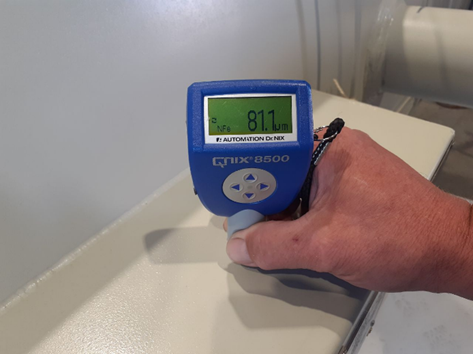
5- Heat exchanger inspection- Painting
The Painting inspection is carried out in the presence of the technical inspector and based on specified activities in the ITP and painting procedure. Due to the specified third-party attendance percentage, some painting tests could be offered by the vendor to be witnessed or reviewed by the inspector.
RAL code checking, dry film thickness check, and visual inspection are common activities to check the painting. Each non-conformity and painting imperfection should be re-worked and repaired by the manufacturer to reach the accepted results.
In the next article “Heat exchanger-final inspection” the final activities and shipment preparation steps will be described.