Abstract
This article is mainly about the “Paint inspection” which is to be applied to industrial products including the common methods under the presence of the third-party inspection.
Introduction
The paint is to be applied on the industrial and non-industrial products to cover the material to preserve that from oxidation, erosion, corrosion, or color the products such as heat exchanger, valve, electromotor, or other products and instruments. A proper paint can prevent any further costs due to maintenance.
The paint should follow the specified paint procedure and requirement of the standard, which was referred on the inspection and test plan. The third-party inspection agency as an independent side observes the tests related to the paint inspection and reports all of the activities, conformance, non-conformance, and relevant deviations- discrepancies to achieve the best quality as requested by the customer. Hereby some common methods were described, however, there are more tests to check the quality of paint.
1- General paint inspection:
1-1- Pre-coating inspection: The painting process should be performed as per the painting procedure and standards which are specified in the quality control plan “QCP”/ inspection and test plan “ITP”.
As an initial stage, surface cleanliness checks, surface preparation, and blasting should be performed to remove any dirt, grease, surface flaws, weld slag, rust, and dust. Afterward, each step of painting must be controlled if complied with the specified parameters such as temperature, relative humidity, drying time, etc., on primer or re-coating layer.
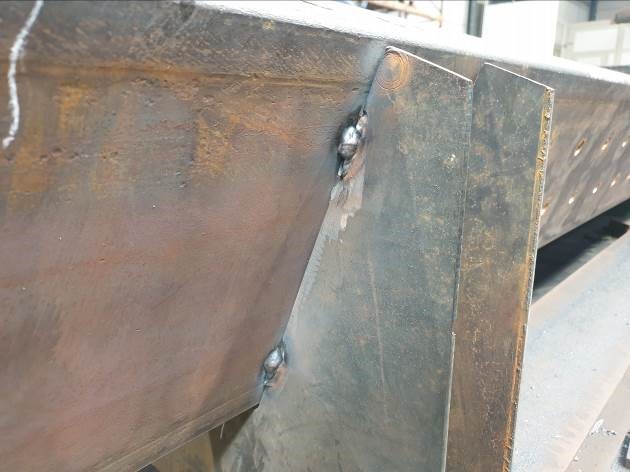
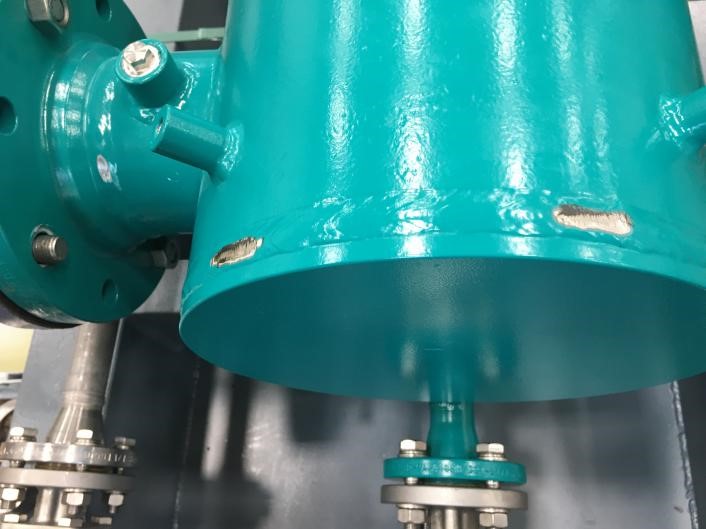
1-2- Post-coating inspection: Third-party inspector witnesses the painting process and final inspection due to paint. So many paint imperfections are visible by a naked eye such as pinhole, blistering, touch up, delamination, etc. by a qualified inspector.
2- Dry film thickness test (DFT)
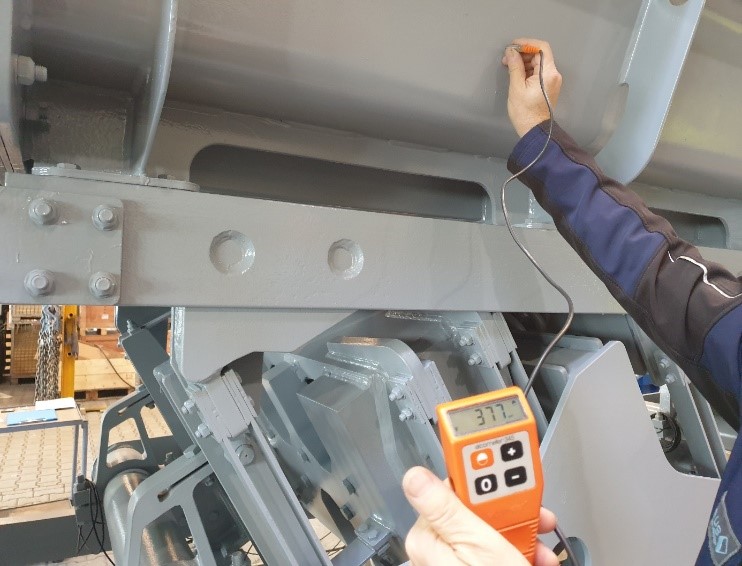
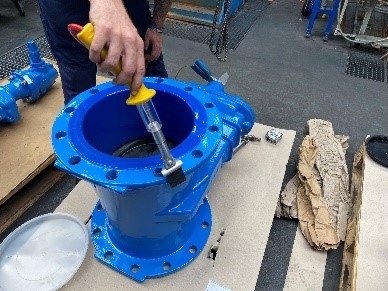
In the dry film thickness test, the thickness of the paint is measured by the calibrated Elcometer on random points, which are specified in the test procedure. The measured values of the coating thickness should be in the acceptance range of standard or approved technical specifications by the client.
3- RAL code check
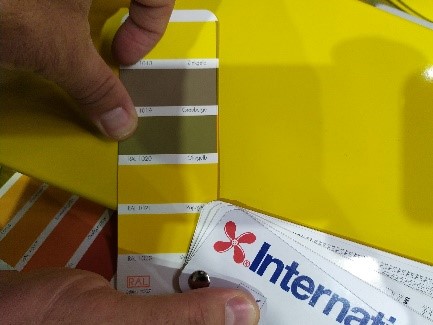
RAL code is a 4-digit code including 213 colors in various groups of colors. The RAL code is mentioned in the technical specification or datasheet.

The RAL code as a part of the paint inspection is to be checked by the attendance of the third-party inspector.
4- What is the purpose of the Holiday test in paint inspection?
The purpose of the Holiday test is to be ensured that the paint surface is free from any porosity.
The coating must be completely free of pores that penetrate right through the coating. The test could be performed through three methods:
4-1- UV Pinhole Detection is a cheap and quick method. A fluorescent UV light emission helps the pinholes to be identified.
4-2- Wet Sponge Technique is done by moving a moist sponge over a coating flaw and a low voltage current, which is completing an electrical current to find the pinholes on the paint coating up to 500 µm on conductive substrates.
4-3- High Voltage Technique with the specified high voltage and the test is carried out with a rubber electrode.
No objection on the surface of the items should be observed and the test is performed on the random surfaces. The third-party inspector witnesses the test and compares the results with the related acceptance criteria.
In the next part, some extra tests, which provide the quality of paint and indicate the painting imperfections will be described. You can read “PAINT INSPECTION”- Part 2 here
