Abstract
This article is about “Magnetic Particle Testing”as a Non-destructive test “NDT” which is applied on the ferromagnetic materials to detect the surface and shallow subsurface discontinuities. The purpose of this method, test methods, testing preparation, and requirements will be mentioned in the following.
Introduction
The “Magnetic Particle Testing” MPT or MT, also named “Magnetic Particle Examination” or “Magnetic Particle Inspection” MPI, is a cheap and quick testing method, which is carried out widely in the various industries to find the discontinuities on the ferromagnetic material surface and subsurface to maximum 15 mm depth (in the best condition) by magnetizing the test piece. An MPT could indicate inherent discontinuities, shrinkages, primary processing discontinuities, welding defects, … or some other defects caused by the production methods. A third-party inspection agency as an independent party observes the testing controls the requirements according to the reference standard and reports them to the customer.
1- How does Magnetic Particle Testing work?
When a test piece is magnetized, a magnetic flux is passed through the material, however, discontinuities such as crack, hole, etc., cannot pass through the magnetic flux as much as the metal. Any cracks or defects in the material will interrupt the flow of current and will cause magnetism to spread out from them. This will create a “flux leakage field” at the site of the damage. Therefore, some deviations could be observed on the magnetic lines by the ferrous particles, which are applied on the test piece surface.
2- Which variations could be applied?
2-1- Dry Powder
In this method the test piece surface should be dusted by dry particles then, the test piece is magnetized. The clustering of the magnetic particles is efficient for detecting defects on rough surfaces, including shallow and subsurface cracks, along with root penetration. Dry powder methods are more portable than wet fluorescent MT.
The Particles are existing in different sizes. Small particles are more accurate and indicate smaller discontinuities, while larger particles offer stronger resistance to contamination from dirt or surface debris.
The dry powder method could be applied to Lack of Fusion in Welds, Defects in Rough Surfaces, Root Penetration, Shallow Cracks to the found surface and subsurface defects.
2-2- Wet Fluorescent
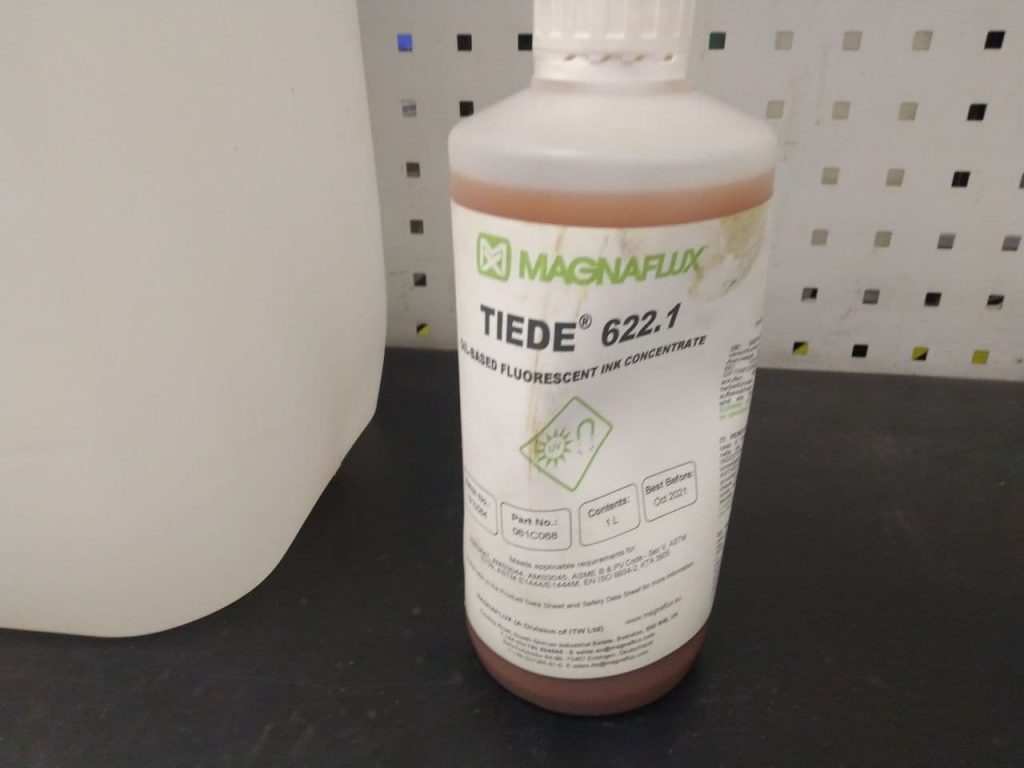
In the Wet Fluorescent method instead of dry powder for detecting the discontinuities, a fluorescent ink is applied on the specimen surface, which contains the smaller ferrous particles, and because of the smaller particles, it makes this method more accurate in comparison to the dry powder method.
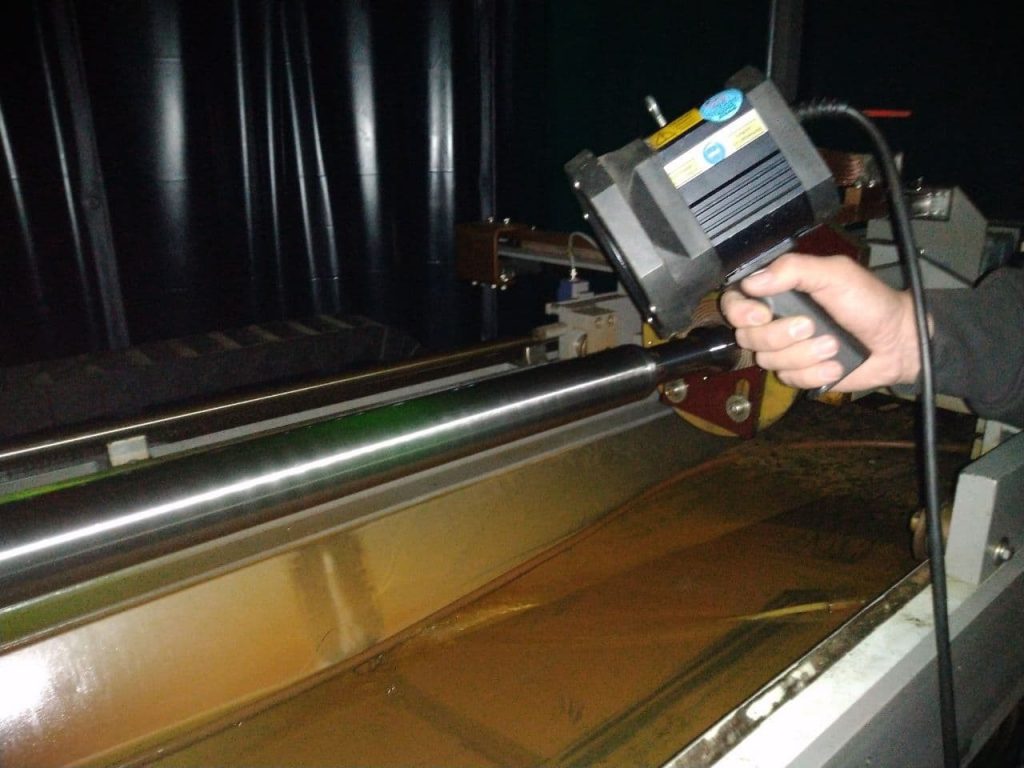
The Wet Fluorescent is a proper method to identify the defects on Grinding Cracks, Flakes, Fatigue Cracks, Quenching Cracks, Inclusions in aerospace blooms, billets, and bars, Laps, Seams, Shrink Cracks, Stress Corrosion Cracking, Welding Defects, and Tears.
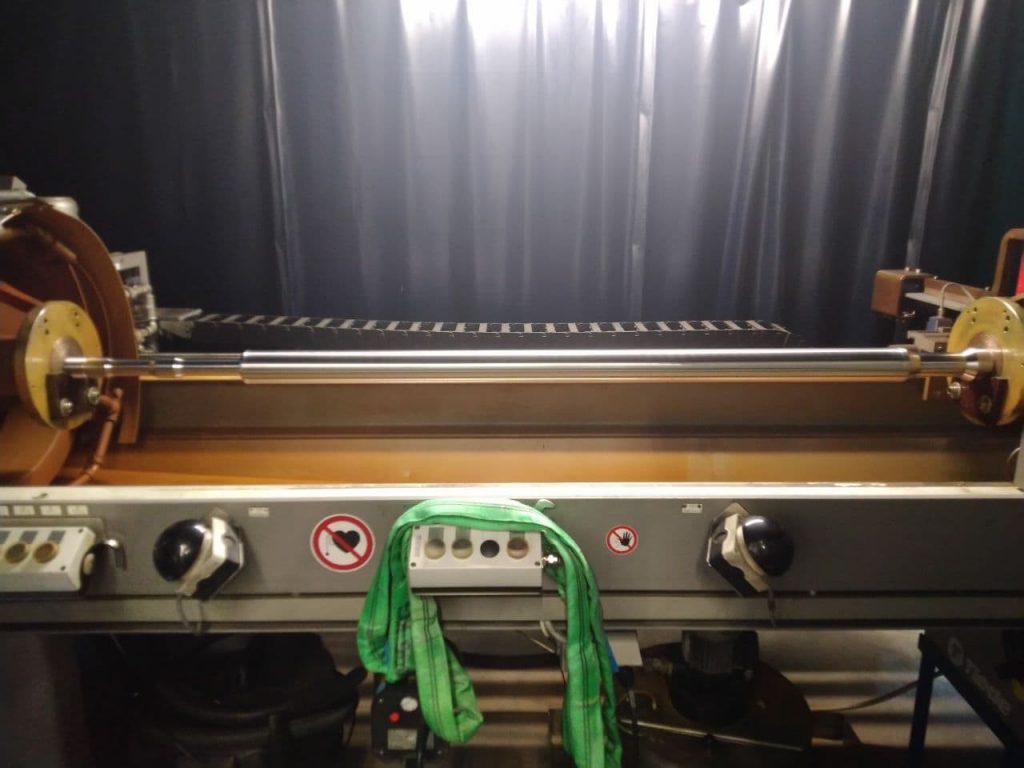
3- Magnetizing equipment
Based on the variations and application, there are various types of magnetizing equipment such as wet test machines, which could be applied on longitudinal or circular magnetization, or AC and DC Yokes which is used widely as a portable instrument to test on the huge test pieces.
4- Before Testing:
Before testing, the technical inspector controls the validity of the calibration certificate of instruments, the validity of material also should be checked, as well as qualification certificates of the tester is reported to the client.

Moreover, the light intensity should be measured and compared with the related acceptance limit of the reference standard. The inspection should be done under the standard condition with enough light intensity.
5- Test Preparation
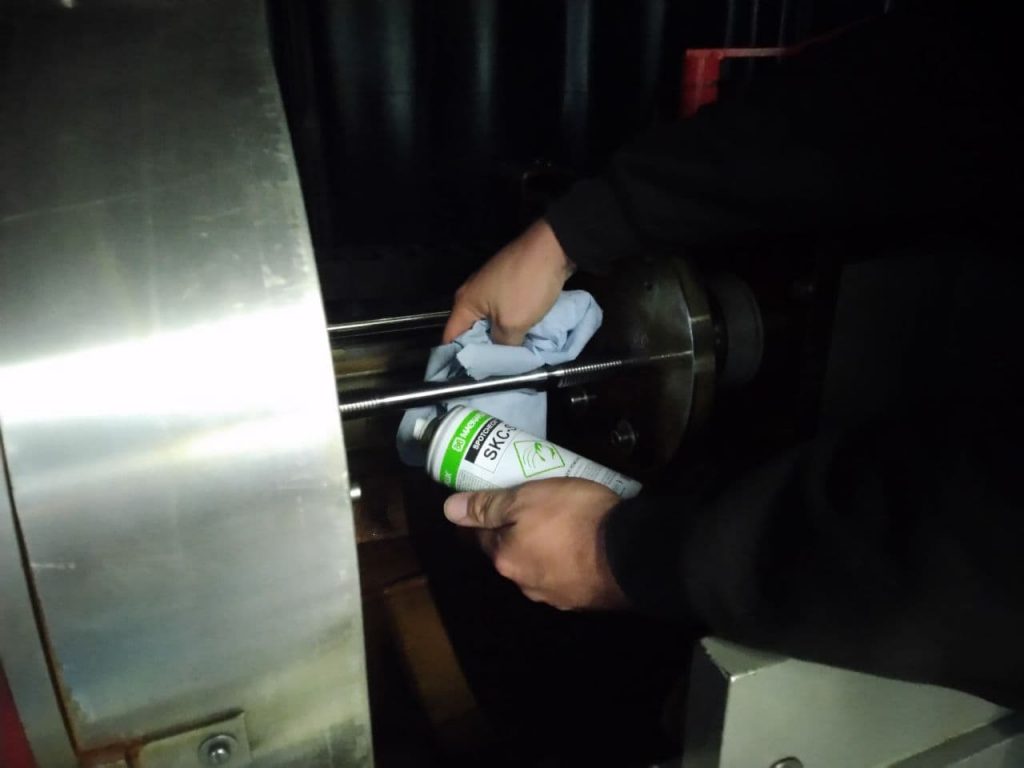
Due to the test method of magnetic particle testing, the test preparation could be different. But generally, the surface of the part to be examined should be essentially clean, dry, and free of contaminants such as dirt, oil, grease, loose rust, loose mill sand, loose mill scale, lint, thick paint, welding flux/slag, and weld splatter that might restrict particle movement.

The surface quality requirements are depending on the size and orientation discontinuity to be detected. The surface shall be prepared so that relevant indications can be clearly distinguished from false indications.
In the next article the testing steps, advantages, and disadvantages of Magnetic particle Inspection, also common standards will be described.

